Wedding invitations are our focus this month, so take a look at our brilliant ideas and practical tips to get your big day off to a flying start.
One of the first – and most important – tasks is to create a guest list for your wedding day. This will be dictated partly by how many people your venue can accommodate and also your budget. So, write a list of everybody you would like to invite, in an ideal world, and check this against the capacity of the venue. If you have more names in mind than can be catered for, whittle this list down and pop those people on a reserve or the evening reception-only list. No one said this was going to be easy!
Next, get the calculator and work out how much it will cost, per head, for each person to attend your wedding day – just because the venue can fit 80, for example, it does not mean you have to invite 80. This is your day and your money, after all… At this point, you may have to edit your list again.
When you and your partner have agreed on your final lists (wedding day itself, evening reception and reserve), consider whether you would like to send ‘save the date’ cards. Though not strictly necessary, they are a good idea if your wedding is close to key dates in the year, such as Easter, Christmas and during the school summer break, as this is when people are often busy with their own celebrations or likely to be on holiday. Save the dates are usually sent between six and eight months before the wedding. If you have set up a gift list with a retailer, include its information on your save the date cards, not the wedding invitation itself.
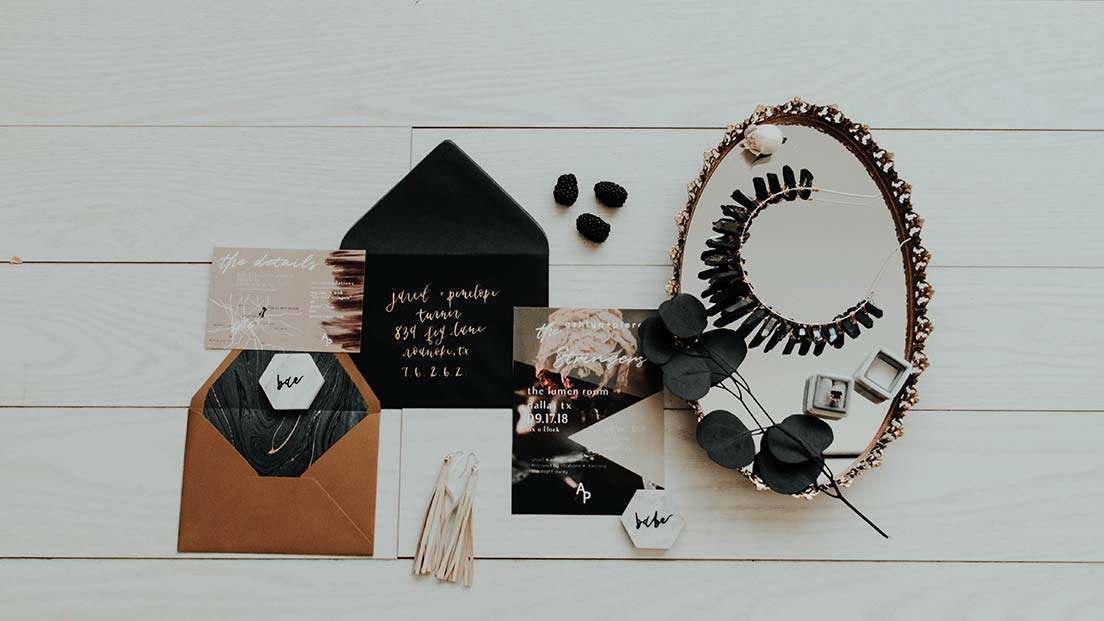
Now comes the fun bit – choosing the design. There are more ideas than you would ever think possible, so take a look at a few wedding websites to see what sort of designs you like and jot down your ideas or bookmark your favourite web pages. If you are a crafty person, you can give your invitations a personal touch by making them yourself – Pinterest.com is a great source of ideas. While this can be a cheaper option than buying them, it often requires a lot of time and patience, so be prepared for this.
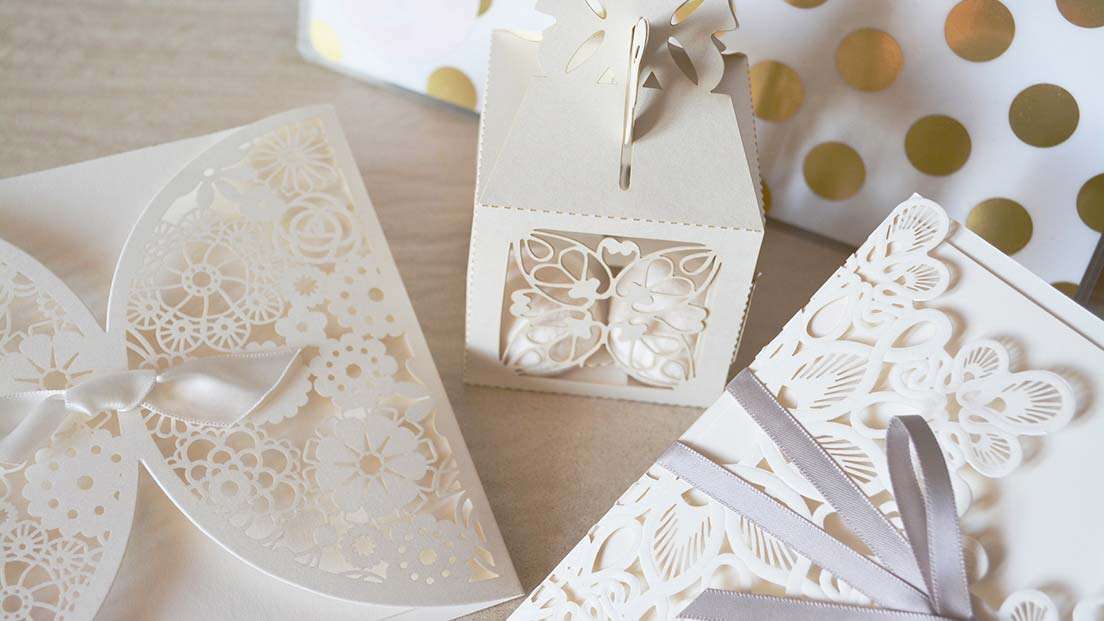
Most people tie in the colours and style of their wedding with their invitations, so this is a good place to start if you are overwhelmed by all the ideas you have seen. A four by six inch rectangular card is the traditional and most common size and shape for an invitation, but this is by no means set in stone. Fancier designs, such as those with scalloped edging, laser-cut detailing or metallic lettering will set your invitation apart from the crown but will also cost more. Whatever design you go for, always remember one key rule: the font must be readable.
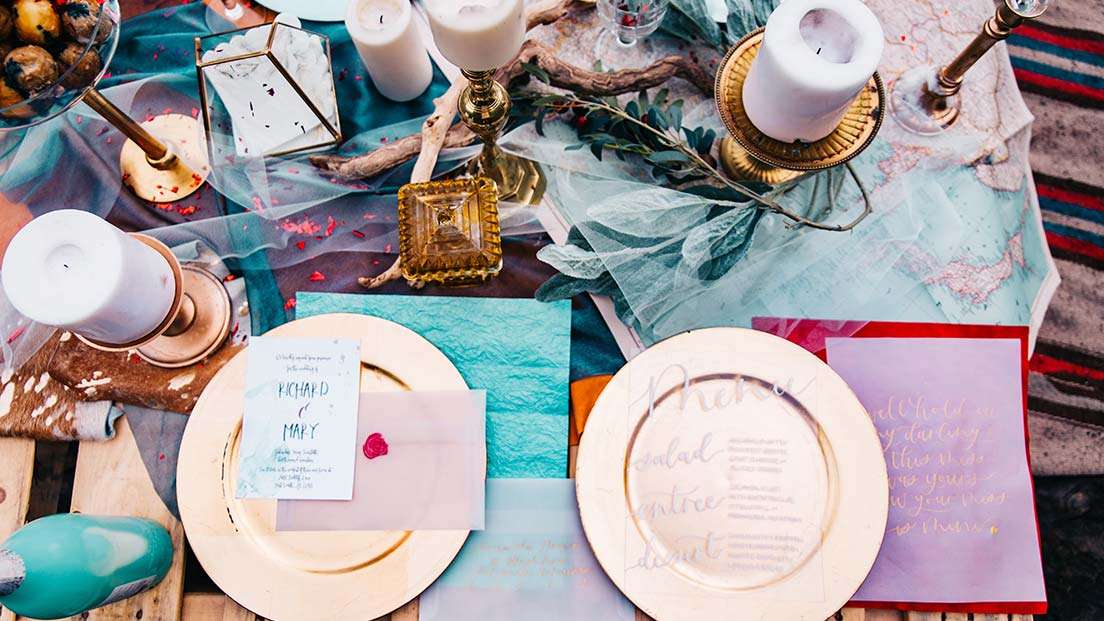
The information on your invitation is very important. Make sure you include the time, date and location of the ceremony, you and your partner’s names and the RSVP information, the deadline for which should be two or three weeks before the wedding itself. You can also include a dress code (a good idea if it is a particularly formal wedding), the name of the hosts, which is usually the bride’s parents, and whether your ceremony is adults-only.
Do not squeeze too much information on to an invitation; it will appear less elegant and be harder to read. If you plan to include directions to the wedding venue, it is best to put them on a separate card enclosed in the same envelope. When you are happy with the wording, triple check you have spelled everything correctly (giving it to someone else to proofread is advisable) and send them six to eight weeks before your wedding.
When your RSVP deadline arrives, do a head count and contact those who have not responded to ask if they plan to attend. If they have still not replied after a few days, bump them off the list and send out an invitation to any reserve guests or promote evening-only friends or family. Sometimes you have to be ruthless!
So, simply follow our easy steps and you will have perfect wedding invitations with all the right information sent out in good time. And that is one more thing you can tick off your to-do list.